Table of Contents
Where I Started in My Film Journey
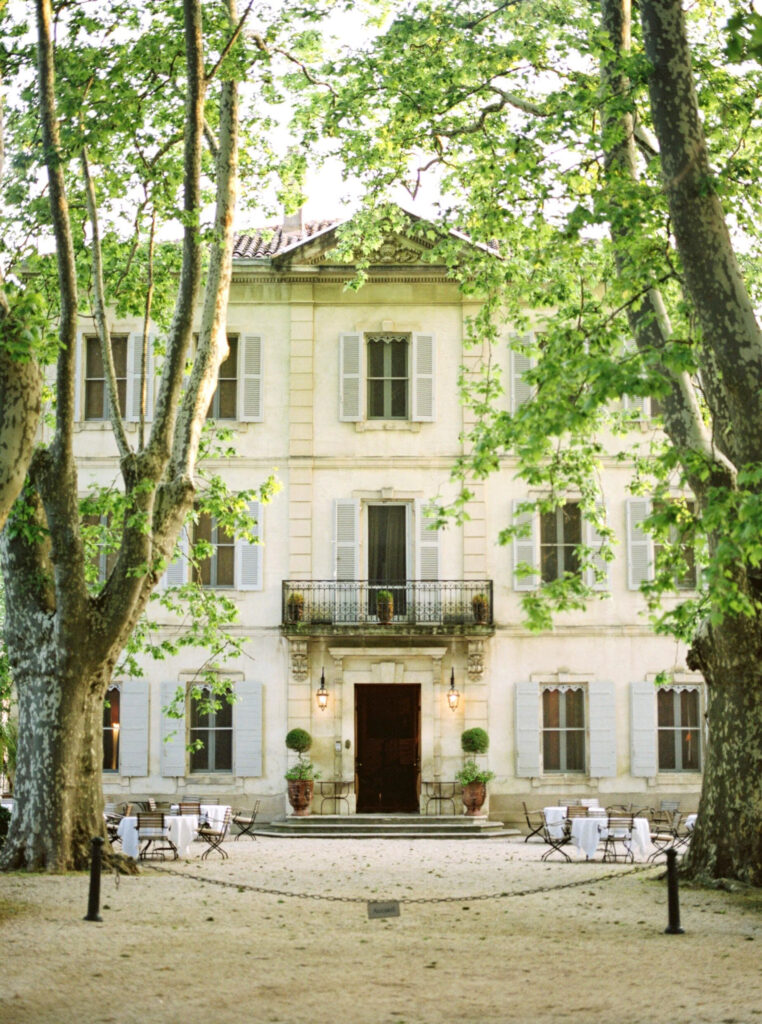
I started my journey in photography shooting film. In fact I used to have a little Kodak 110 Instamatic and I LOVED heading over to the Fotomat Kiosk to drop off my rolls of film only to see the prints come back! In an age dominated by digital technology, film photography is experiencing a remarkable resurgence, especially the 35mm film camera! Photographers of all levels are rediscovering the tactile joy of shooting on film, captivated by its unique aesthetic and the anticipation of seeing their images develop. Here, I’ll delve into the world of film photography, offering tips for beginners, insights into what to capture, and essential care techniques for your film and prints.
The Resurgence of Film Photography
I learned how to photograph with a film camera and in fact, my very first camera was the Kodak 110 and then I graduated to the Minolta X-370. Despite the convenience of digital cameras, many photographers are turning back to shoot the film for its distinctive qualities. Film captures colors and tones in a way that many consider superior to digital, offering a depth and richness that is difficult to replicate. This revival has been fueled by a community of enthusiasts who appreciate not just the outcomes but the entire process, from loading film into a camera, hearing the click of the shutter and advancing of film, to developing prints in a darkroom.
Social media platforms have played a significant role in this resurgence, serving as a showcase for stunning film photography. The aesthetic of grainy textures and vibrant colors often found in film images are celebrated, leading to a new generation of photographers eager to learn the craft.
Why Choose Film Over Digital?
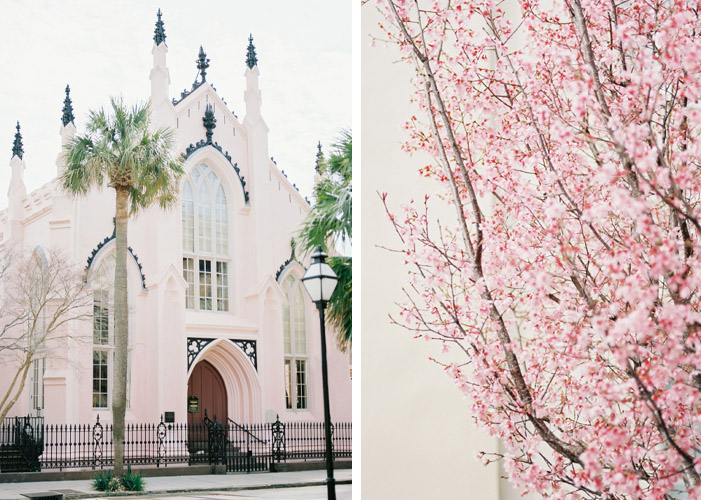
Choosing between film and digital photography is subjective, but several reasons often sway beginners toward film. For one, film has a unique character that can evoke emotions and nostalgia, capturing moments with a warmth that digital lacks. Additionally, the limitations of film can enhance creativity; with a finite number of exposures, photographers are encouraged to think critically about each shot and click of the shutter.
Moreover, film photography can be a meditative experience, requiring patience and thoughtfulness. Unlike the instant gratification of digital photography, where images are readily available for editing, film forces you to be intentional with every element of composition and exposure.
Getting Started with Film Photography
Choosing Your First Film Camera
When beginning your journey in film photography, selecting the right camera is crucial. There are various types of film cameras to consider, including point-and-shoots, rangefinders, and manual SLRs. For beginners, a simple point-and-shoot could be a good start, allowing you to focus on composition without being bogged down by complex settings.
If you’re seeking a more hands-on experience, consider a fully manual SLR camera, which provides greater control over shutter speed, aperture, and ISO. Popular models include the Canon EOS 1V, Nikon FM, and Pentax K1000. Researching the camera’s features and gathering user reviews can help you find a model that suits your shooting style. One good website to check out is Ken Rockwell He has reviewed pretty much every camera and lens for the past quarter of a century!
Understanding Different Film Types
Film comes in various types, each offering distinct characteristics. The most common types include color negative, color slide (or transparency), and black and white film. Color negative film is versatile and forgiving, making it an excellent choice for beginners. It allows for broader exposure latitude, meaning you can make small mistakes without ruining the image.
Color slide film, while yielding vibrant colors and sharp images, requires more precision with exposure. Black and white film is a favorite among many photographers for its classic aesthetic and the opportunity for creative darkroom manipulation. Exploring different types of film will deepen your understanding of photography and help you hone your artistic style.
Most will choose a 400 ISO film speed as it usually is most forgiving in outdoor light and is versatile for indoor / outdoor use. In low lighting situations, going higher is better say 1600 ISO. I love starting off with Kodak Portra 400 and ending my day with Ilford 3200 black and white (for all its grainy glory!) Kodak Tri-X 400 is another good film to try for black and white images too!
Essential Accessories for Film Photography
Aside from your camera and film, several accessories can enhance your film photography experience. A sturdy camera bag is essential for protection and organization, while a tripod can aid in capturing sharper images, particularly in low-light situations. Additionally, a light meter can help ensure accurate exposure, especially if your camera lacks an internal meter. You can also study the “Sunny Sixteen” Rule here
Don’t forget about film storage! Keeping your film in a cool, dry place away from direct sunlight will maintain its quality. Lastly, consider investing in a good scanner or finding a reliable lab for developing your film, as this will greatly affect the final outcome of your images. A couple of film labs that I send my film out to is Richard Photo Lab and Photovision both serve the professional and hobbyest the same.
Tips for Beginners
Mastering Manual Settings
One of the most beneficial skills for a film photographer is mastering manual your settings. Understanding how shutter speed, aperture, and ISO work together can significantly impact your film photography images. Shutter speed controls how long the film is exposed to light, while aperture affects the depth of field. ISO indicates the film’s sensitivity to light.
Experimenting with these settings can help you understand how they affect your images. For example, use a slow shutter speed to capture motion blur or a wide aperture for stunning portraits with a blurred background. The more time you spend with these settings, the more intuitive they will become.
Learning Composition Techniques
Composition is key in photography, regardless of the format. Familiarize yourself with principles such as the rule of thirds, leading lines, framing and for the more advanced, the Fibonacci spiral. The rule of thirds involves dividing your frame into a grid and placing your subject along these lines to create a more balanced image.
Leading lines guide the viewer’s eye through the photograph, while framing involves using elements within the scene to create a frame around your subject. Practicing these techniques will improve your photographs and encourage you to think critically about each shot you take.
Developing a Consistent Shooting Practice
Developing a consistent shooting practice can be incredibly beneficial for beginners. Set aside time each week to focus on photography, whether that involves going out to shoot, experimenting with different films, or studying other photographers’ work. This disciplined approach will help you grow and refine your skills over time.
Consider keeping a photography journal to track your progress. Documenting what works, what doesn’t, and your experiences can provide valuable insights into your creative journey. Now with the power of our computers, it’s easier and easier to document our journey with film by creating a visual journal which I have found to be quite helpful!
What to Capture with Film Photography
Landscape Photography
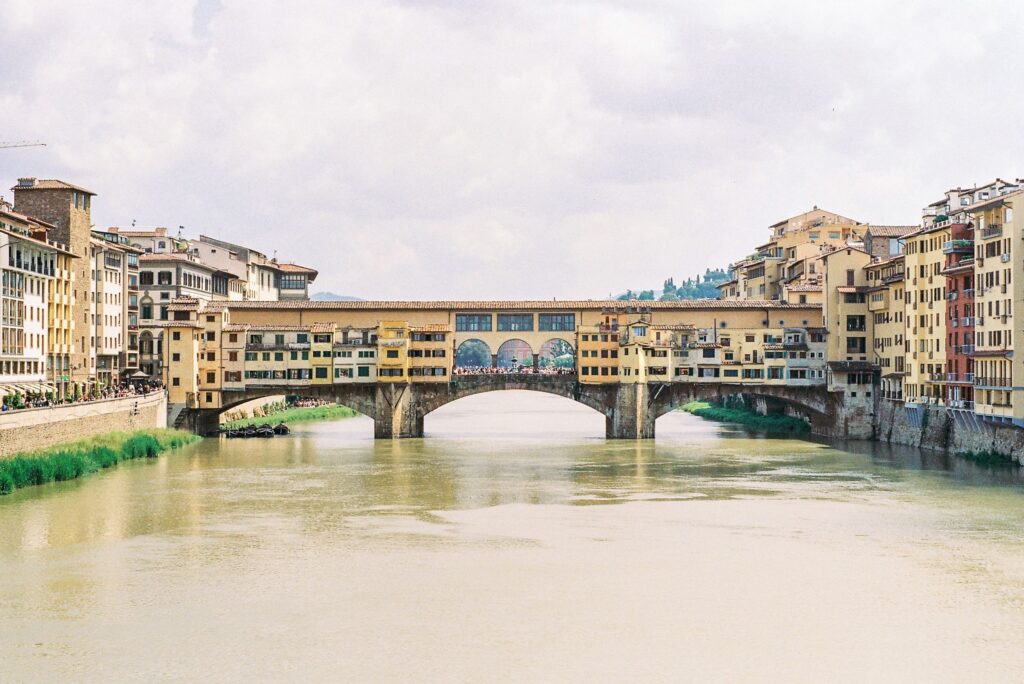
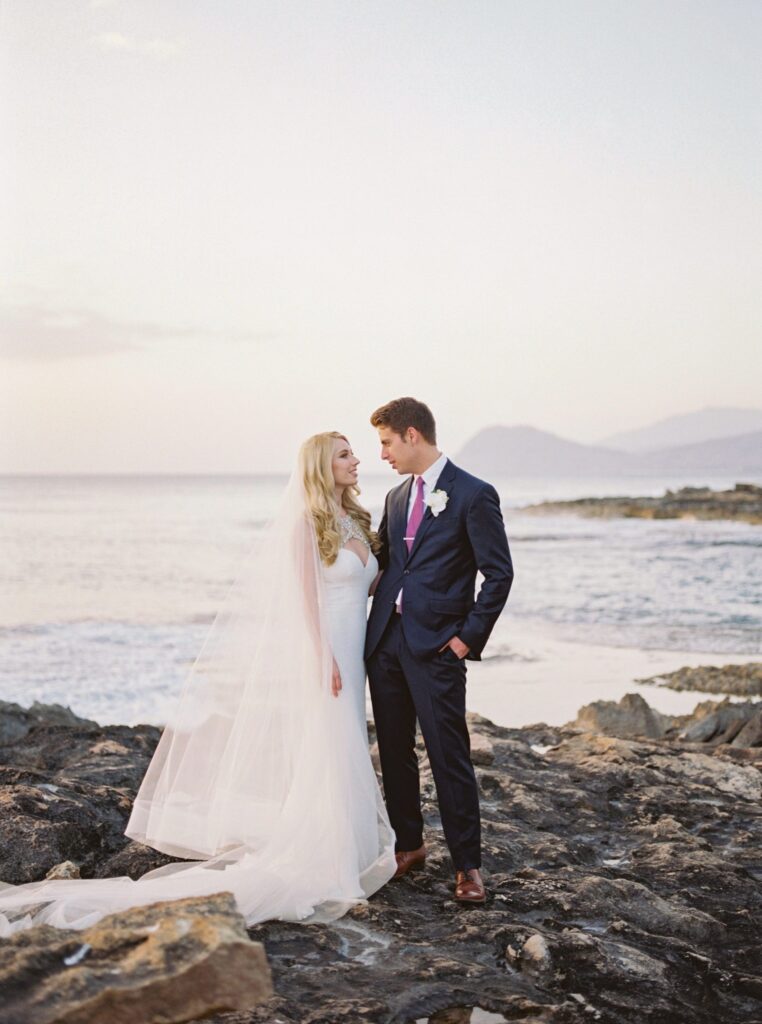
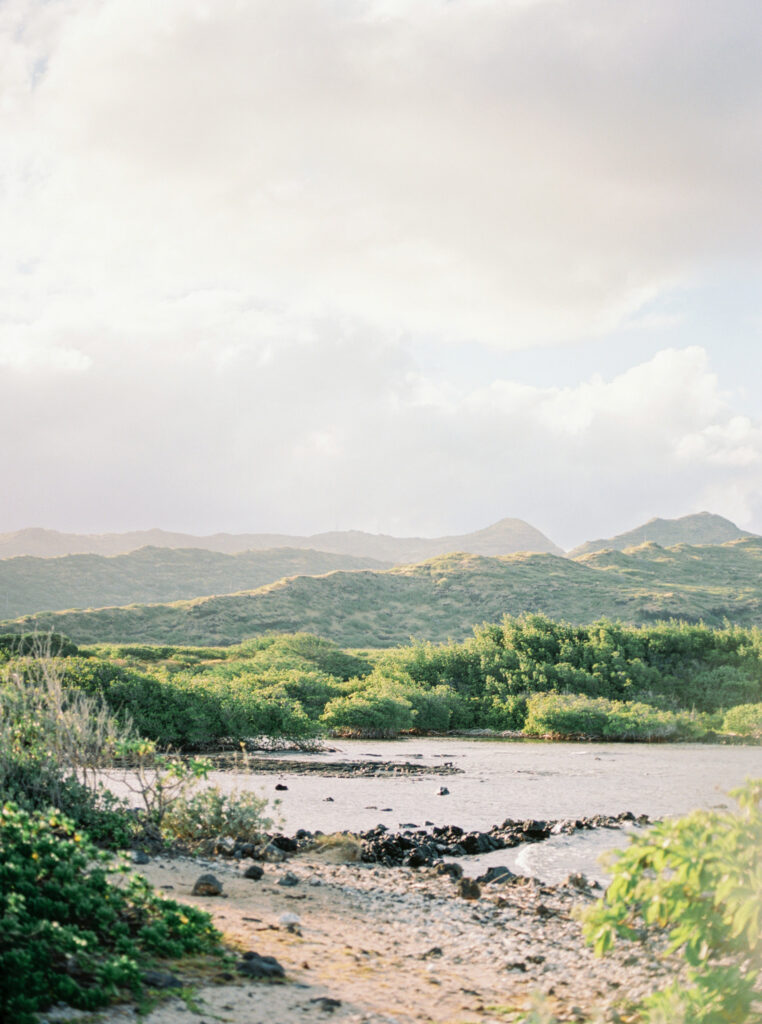
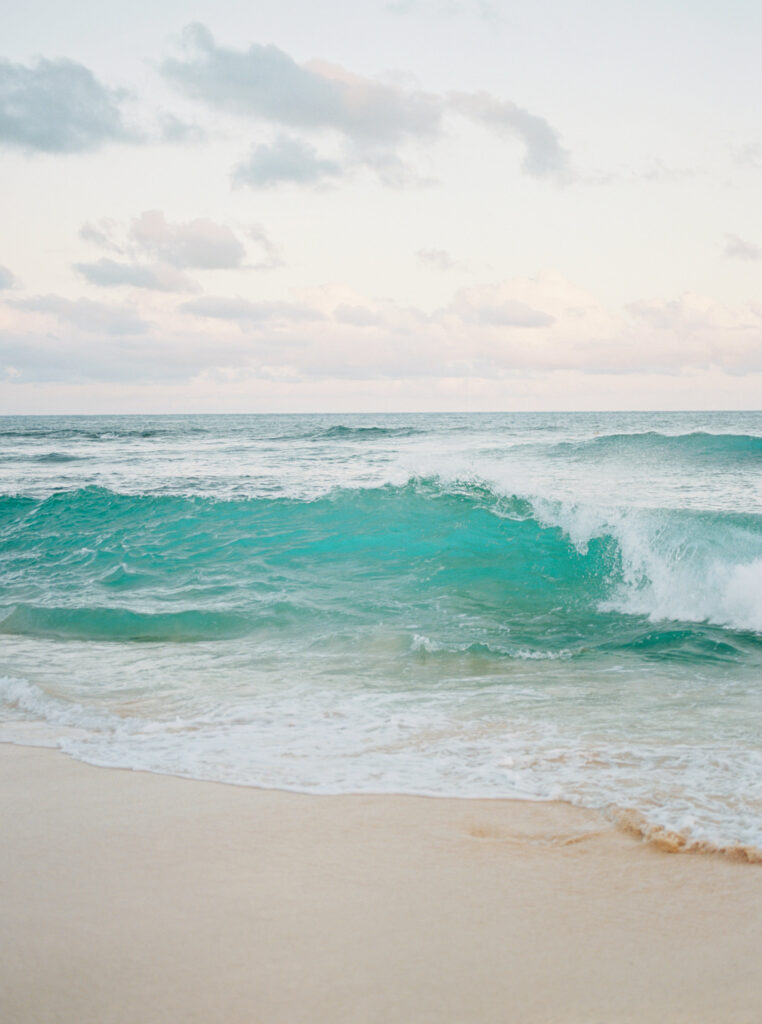
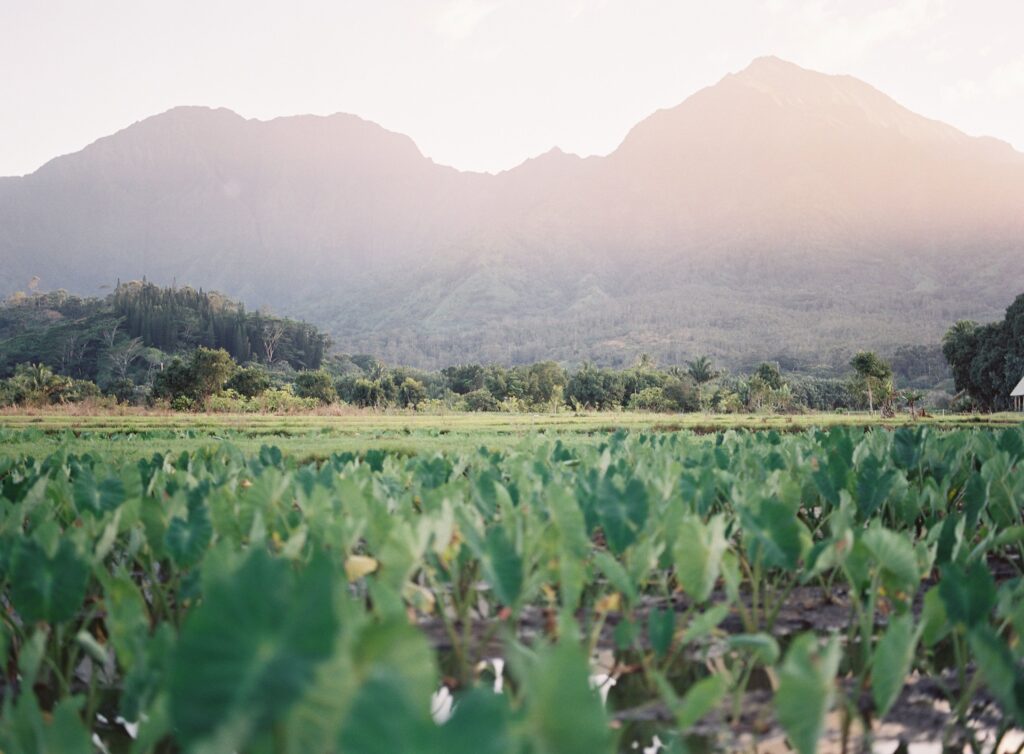
Film photography is particularly well-suited for landscape photography, as it can capture the vibrant colors and textures of nature beautifully. When shooting landscapes, consider the time of day, I particularly LOVE the golden hours, shortly after sunrise or before sunset, offers soft, flattering light. After being in Hawaii for over two decades, I even love the blue hour light it’s soft, glowy feel gives great tones of color and light!
Experiment with different compositions, such as foreground interest or leading lines that draw the viewer’s eye into the scene. Use a tripod for stability, especially during long exposures. Remember, patience is key in landscape photography; sometimes waiting for the right moment can yield an unforgettable shot.
Portrait Photography
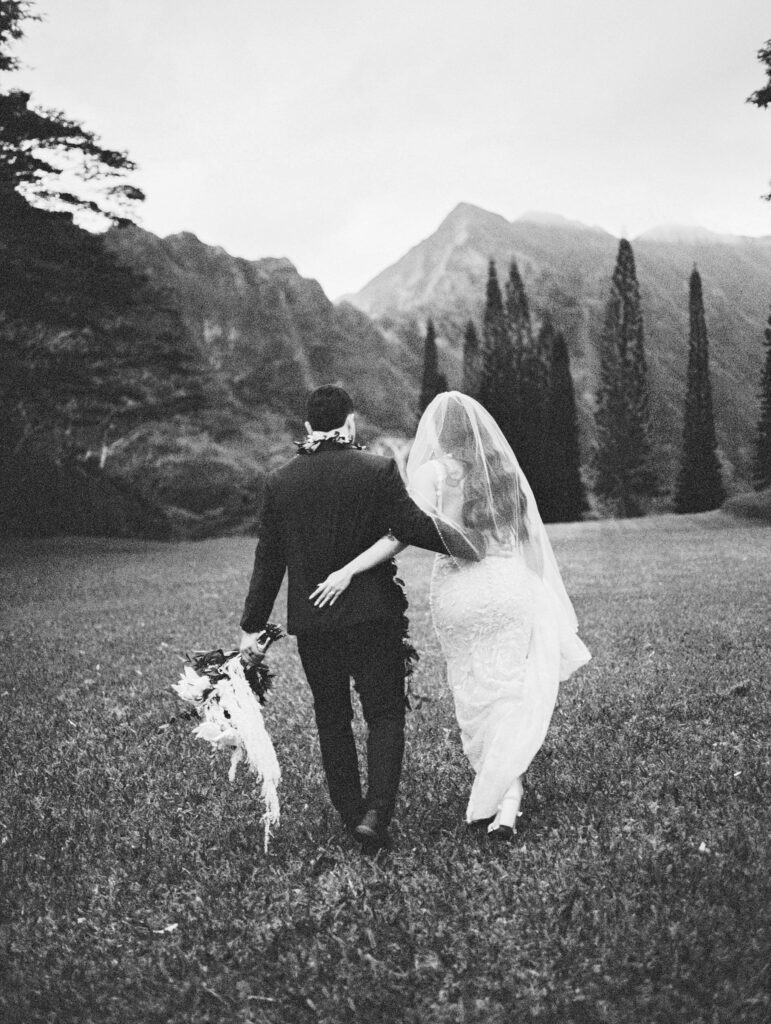
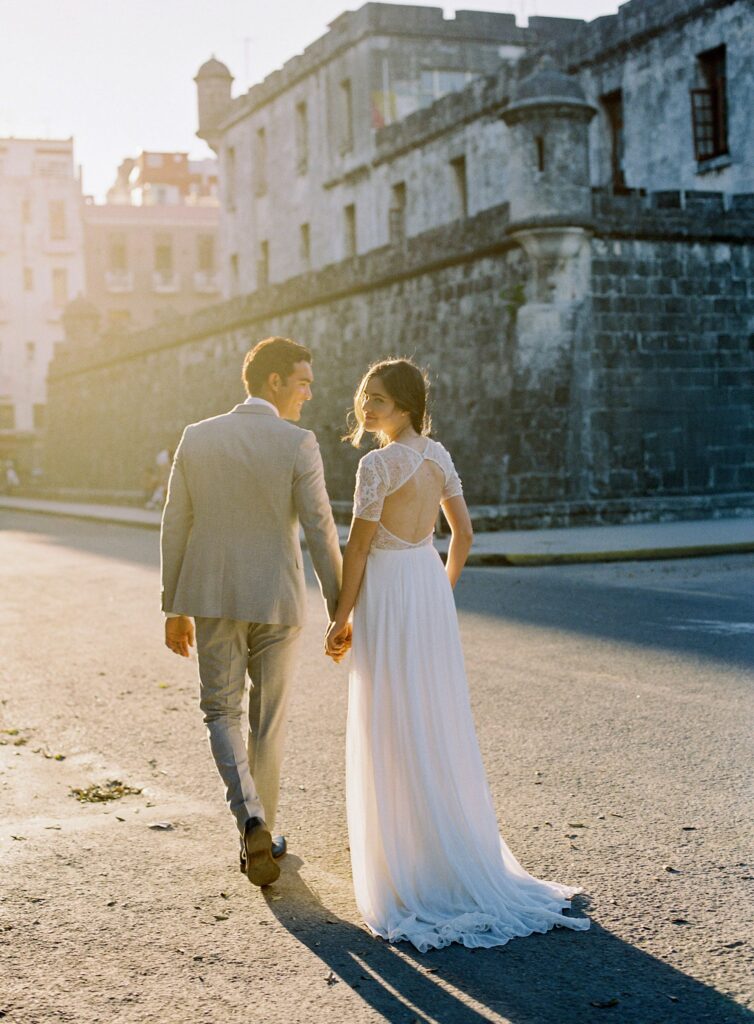
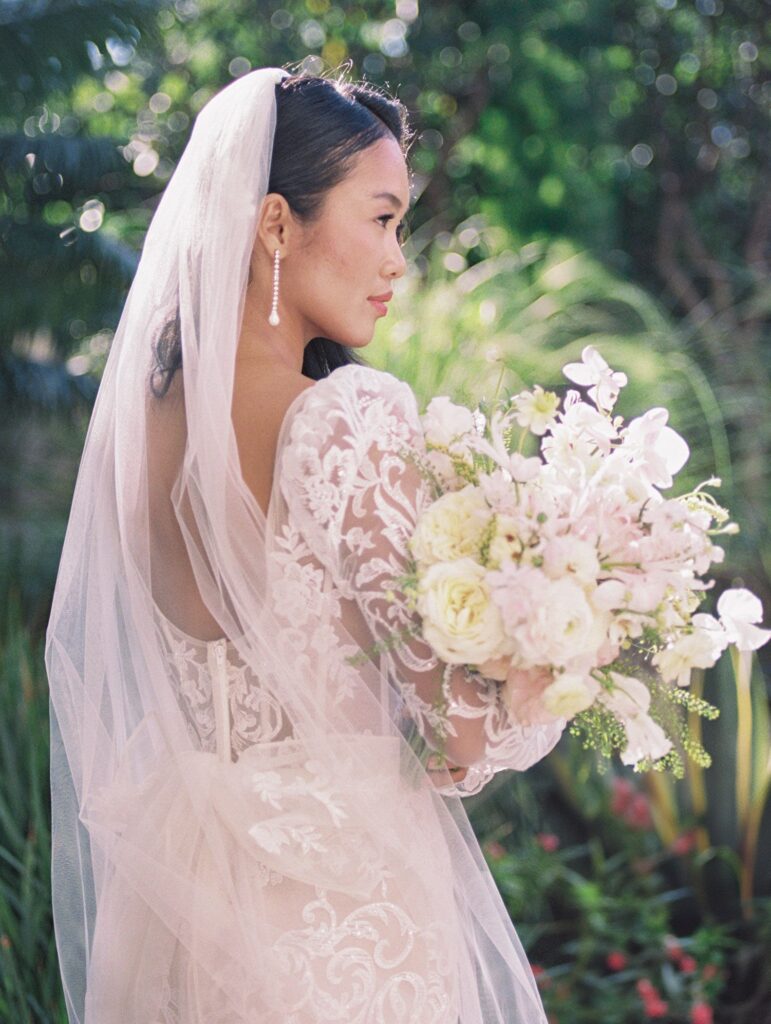
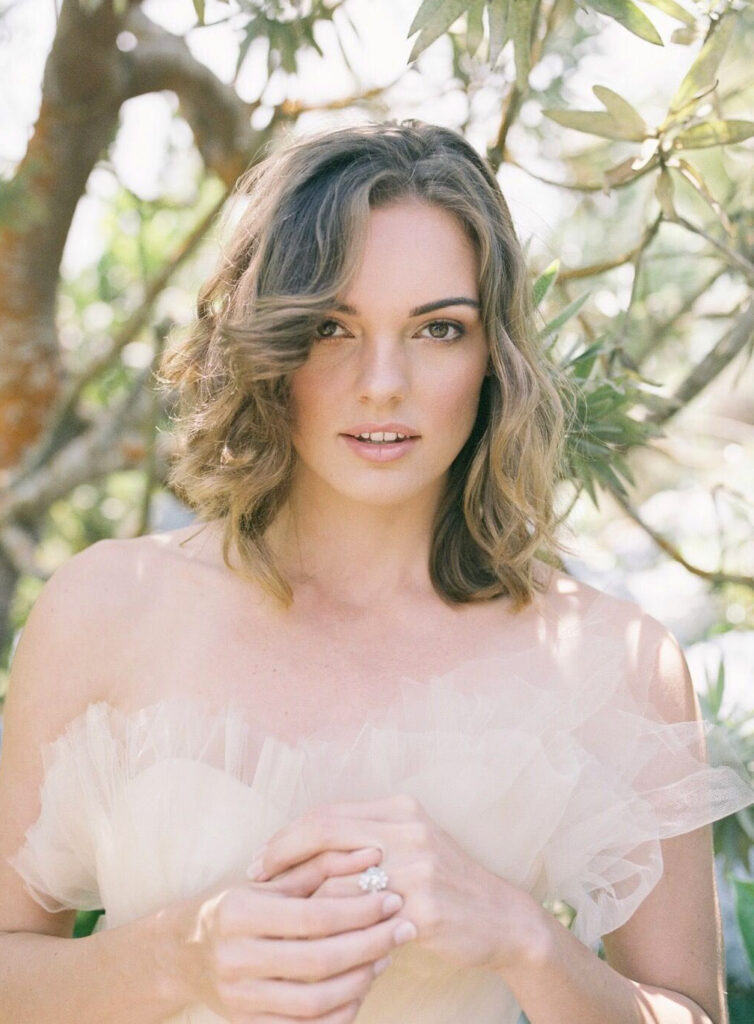
Film also excels in portrait photography, offering a unique warmth and depth to skin tones. When capturing portraits, choose your film wisely; some films are better suited for skin tones than others. A wider aperture can create a beautiful bokeh effect, isolating your subject from the background and can be more flattering and forgiving than digital (which is usually sharper!).
Engaging with your subject is crucial for natural portraiture. Communicate with them to make them comfortable in front of your lens to bring out genuine expressions. I find that this is where many photographers make the mistake of an OK portrait than that of a genuine great one. Experiment with both candid moments and posed shots to discover which style resonates with you.
Documentary and Street Photography
Film photography is a powerful medium for documentary and street photography. Its tactile nature encourages you to observe and capture the world around you. Whether shooting candid street scenes or telling a story through images, film can evoke a nostalgia that resonates deeply.
When shooting on the streets, keep your camera ready and be patient. Look for moments that tell a story or capture the essence of a place. Approach your subjects with respect, especially when documenting their lives. Building connections can lead to more meaningful photographs. I knew of a photographer that would keep his camera at his hip to capture genuine street photos and they were always engaging to look at.
Caring for Your Film and Prints
Proper Film Storage Techniques
Proper storage of your film is essential to maintaining its quality. Film should be stored in a cool, dry place, ideally in a refrigerator, to prevent any deterioration. If you purchase bulk rolls, consider cutting them into smaller lengths for easier handling while ensuring that they remain sealed until use.
Always check the expiration date of your film. Using expired film can yield unpredictable results, which may not always be desirable. Additionally, after shooting, do not leave your film in direct sunlight or hot areas, as this can adversely affect the emulsion.
Tips for Developing Film at Home
Developing your film at home can be a fulfilling aspect of film photography. While it requires some initial investment in equipment and chemicals, the ability to control the development process is invaluable. Start with black and white film, as it typically requires fewer chemicals and less precise timing compared to color film.
Familiarize yourself with the developing process, which includes loading the film onto a reel, mixing your chemicals, and controlling the temperature and timing during development. Online tutorials and community forums can be great resources. Remember to practice patience and precision—two essential qualities for successful film development.
Conclusion
The Lasting Appeal of Film Photography
Film photography, with its unique character and depth, remains a timeless art form that continues to captivate photographers worldwide. The tactile experience of handling film, the thrill of developing images, and the nostalgic aesthetic it offers are just a few reasons why many are drawn to this medium and I for one am glad that it’s still around and has found a resurgance!
Encouragement for New Photographers
If you’re just starting your journey in film photography, embrace the learning process. Experiment with different cameras, lenses, film types, and techniques to discover your unique style. Remember that every photographer has a distinct voice, and your photographs are a reflection of your perspective.
Frequently Asked Questions (FAQs)
1. Is film photography more expensive than digital?
Initially, film photography may seem more costly due to the price of film rolls and developing. However, many photographers find the investment worthwhile for the unique qualities of film.
2. Can I use digital cameras with film techniques?
Absolutely! Many techniques learned in film photography, such as composition and manual settings, can be applied to digital photography as well.
3. What are some good beginner films to try?
For beginners, Kodak Portra 400 for color and Ilford HP5 for black and white are excellent choices due to their forgiving nature and vibrant results.
4. How long does it take to develop film?
The developing process can take anywhere from 30 minutes to a few hours, depending on whether you’re doing it at home or using a lab service. (I’m all for using the lab! They’ll even send you your scans right to your inbox! It’s like Christmas morning opening them up everytime!).
5. Can I shoot film in low light conditions?
Yes! Using a higher ISO film or a lens with a wider aperture can help capture images in low light. Tripods can also stabilize your shots.
